
Full Soap Making Tutorial + Poppy Seed Soap

I have quite a few soap tutorials on my site however I do not have detailed instructions on how to make soap so I thought that i would use this opportunity to not only show you how to make a beautiful soap, but this serves as a tutorial on how to make cold processed soap. Firstly I will give a very brief history of soap making, an easy to read explanation of the science, safety advice and good manufacturing practice in soap making. Finally I will give a run down of the soap making process and show you how to make the Poppy Seed Soap.
A Very Brief History of Soap Making
The earliest recorded evidence of the production of soap-like materials dates to around 2800 BC in ancient Babylon. A formula for soap consisting of water, alkali, and cassia oil was written on a Babylonian clay tablet around 2200 BC. I was also used in ancient Egypt as well as the Roman empire.
One such soap still made in the most traditional fashion is African black soap. If you have never heard of Black Soap, the skilled craftswomen burn either plantain, Shea tree bark, cocoa pods or palm leaf to create a potassium carbonate rich ash. Calcium carbonate is highly alkaline. The ash is then boiled in water and when ready the oils are added which results in a soft black soap. There is another type of black soap called Beldi or Savon Noir. It originated in the Levant and made its way over to Morocco. It is a traditional soap used in the Hammam and is an intrinsic part of the spa ritual. You can learn how to make that as well as 9 varieties of gel soaps in my book Little Book of Beldi.
Some Science of Soap Making
Soap making is a science as well as an art. In scientific terms, soap is defined as the sodium salt of a fatty acid. To make the sodium salt (or soap) a reaction between a fatty acid and an alkaline needs to take place. The alkaline medium used depends on the type of soap. For liquid or very soft soap potassium hydroxide is normally used and for a hard bar sodium hydroxide is used. The reaction between the acid and the alkaline results in soap, glycerine and a small amount of water. This reaction is known as saponification.
If you were to look at a label of traditionally made, saponified soap you will notice that the names of the ingredients have a prefix ‘sodium’ or ‘potassium’; Sodium cocoate would be a hard soap of saponified coconut oil; Sodium sheabutterate is the salt of shea butter. They often sound very similar to the common name of the oils used.
Vegetable oils are made up of different fatty acids. Typically, all oils have a combination of hard and liquid fatty acids. Some of these fatty acids like stearic acid and palmitic acid are very hard and some like linoleic acid and oleic acid are liquid at room temperature. For instance, palm oil, shea butter and cocoa butter are made in varying levels, of harder acids but do contain lesser amounts of more liquid acids. In contrast sunflower oil is made predominantly of oleic and linoleic acid with lesser amounts of stearic and palmitic acid which means that it will be liquid at room temperature or even much cooler.
Generally, the harder the butter, the longer shelf life it has. Butters like cocoa butter have a much longer shelf life than say Flax seed oil. It is important that when you make soap you consider the shelf life of all the oils you use and its characteristics in order to make a well-balanced soap.
Whether your soap is hard or soft depends on two things, the type of lye (sodium or potassium hydroxide) and the fatty acid profile of the oils/fats you use. Typically, the harder the fatty acid the harder the soap.
Superfatting
To make a nice moisturising bar most soap-makers super-fat or do a lye reduction. Both of these are essentially the same thing. It means that by reducing the amount of lye in the formula, not all of the oil converts to a salt/soap. It means that some oil is left out of the reaction. Most people don’t superfat higher than 5% as there is the potential for the ‘free’ oil to be susceptible to turning rancid. Whether you decide to superfat above this level really depends on the oil or blends of oils you use; it is probably okay to superfat coconut oil (which is very stable) at 20% but it would not be wise to superfat a soap containing borage oil as that is prone to rapid oxidation. I like to superfat no less than 3%, as this is my insurance policy - it will cover any minor errors in measuring my oils.
Working Safely with Soap
Before starting to make soap it is important to be safe. A strong solution of lye (sodium hydroxide and water) can cause chemical burns so you must make sure you cover your eyes and skin well. Make sure you wear goggles to protect your eyes and long sleeves to protect your skin from any splashes.
You also need to protect your lungs from any vapour when the sodium hydroxide and water combine. You will more than likely see the vapour and be able to avoid it but not always so do not position yourself directly over the lye (this is the solution of water any sodium hydroxide). Make sure your room is well ventilated. Don’t try and go outside to do this – it is more than likely going to blow the vapour up your nose which will be very irritating to your airways.
It is also very important to pour the sodium hydroxide into COLD water. Doing it the other way round could create a violent reaction which you do not want. One very experienced soapmaker had a wonderful way to remember the correct process; imagine that ‘Snow falls on the lake.’ I always have this in mind when I deal with lye. Make sure you always use cold water otherwise it will boil and splash.
You will notice that the container that you use will get very hot with the reaction. This is normal but something to be aware of when you are handling your beaker. Even with very cold water, adding sodium hydroxide in water will create a exothermic reaction - the solution will get gradually hotter.
Here are some basic safe working tips:
Protect your skin and eyes. Wear safety goggles, rubber gloves and a long sleeved top.
Keep a water bottle ready for any splashes, wash bottle thing
Do not soap around young children or people who can not understand or listen to direction
Do not soap around pets.
Keep your work area clear and clutter free. The more chaotic your workspace the greater likelihood of accidents
Respect the lye - it is highly corrosive and will burn your skin if you get splashed.
Soap Making Equipment
Heat and chemical resistant pots and glass beakers (do not use aluminium)
Immersion blender - Although you can make soap without an immersion blender, stirring by hand can mean that saponification will take quite a while. Using a stick blender speeds up the reaction considerably.
Thermometer (optional)
Bain marie to melt butters - using a bain marie will ensure gentle melting of hard butters. Alternatively you can melt them in the microwave. You will need to observe how long you microwave for, how long will depend on the the amount of butters you use. Use a microwavable vessel to do this.
Molds – I have used Pringle tubes, cut off milk cartons and sturdy boxes in the past but you can also use silicone molds (for cooking) . You can buy wooden log molds and line them with baking paper. This allows you to easily remove the soap.
Safety wear – goggles, apron, mask, latex or marigold gloves to protect against splashes
Isopropyl Alcohol 70% solution in a spray bottle to spritz the finished soap and to maintain sanitary conditions.
Software to Calculate your Soap
When you formulate soap you need to be able to calculate how much lye you need with the amount and type of oil you have. Every oil has a saponification (SAP) value, a number which tells you how much lye you need for a gram of your unique oil. To find out how to calculate manually, go to The Soap Kitchen as they have a good guide.
I use Soapmaker 3 to do all my calculations, however there are other free programmes online that are accurate and allow you to pick the oils in a drop-down format. They have already entered the SAP values of most commonly used oils and can calculate the exact amount of lye and water you need as well as give options for fragrance and additives.
Marie from Humblebee and Me has a good video on how to use SoapCalc which you can see here.
BRAMBLEBERRY | SOAPCALC | THE SAGE
Soap Making Process
The following is the basic soap making process, step by step:
1. Weigh your water.
2. Weigh your sodium hydroxide.
3. Pour your sodium hydroxide carefully into your water, move it away from your face and stir until the solution is clear. This solution is also known as lye.
4. Set your lye aside to cool.
5. Weigh out your hard oils and butters and melt them (they need to be liquid)
6. Weigh out your liquid oils
7. Combine all of your liquid oils to your hard oils and stick blend until uniform.
8. Wait for your oils and your lye to cool to a similar temperature. I usually feel the side of the bowls to assess the temperature and if it feels luke warm it is ready.
9. When under 40c and when your lye is fully dissolved pour the lye into the oils.
10. Stir with the stick blender and then blend with the lowest level whilst stirring intermittently.
11. When it gets to trace it will be ready for your additives. Trace is when the soap batter transforms from being translucent to being opaque. It indicates that it has emulsified. There are varying types of ‘trace’. Thick trace is when it is of a very thick and custard appearance. Thin trace is when it is still very liquid, but if you dribbled the batter back into the batch, it will leave a trace, hence the name!
12. You are now ready to add your additives. Please note that if you are using clays and fragrances you may want to add them with your cool oils before adding the sodium hydroxide solution. With some ingredients like powder dyes, clay and other powdered ingredients, it is best to mix them in a little oil before adding to the soap batter. I normally reserve some of the oil from my oil phase to do this. You could even take a bit of soap batter out and mix the powder and soap into a slurry. I normally reserve some of the oil from my oil phase to do this.
13. Your soap now needs 24-48 hours before you can unmould. Once unmoulded, you will need to wait 4-6 weeks for it to cure – this allows the water to evaporate and gives a harder bar. Although you may be able to use your soap after about 3-4 days, it is advisable to leave it as it will be harsh.
Poppy Seed Soap
I have chosen a soap that is moderately complex as it contains oils and butters as well as dry ingredients and essential oils. This means that making the soap will be in three stages. It is not the easiest formula for soap which might contain only one or two oils and the lye solution. But it is not a more complicated soap that might have a variety of pigments or ingredients that might go into the water (lye) phase as well as the oil phase. In short, by following this tutorial you will be able to make other soaps with coloured clays or botanical ingredients as well as different essential oils.
The formula is enough to make half a kilo of soap. In the column that says ‘Soap Calculator Entry’ - I gave given % of oils used and the additives needed. You can use these numbers if you want to run the soap through an online calculator.
I used a combination of olive oil, coconut, castor oil and poppy seed oil.
The Formula
Method

1. Weigh your sodium hydroxide into a container. Weigh your water into a separate container. Gently pour the NaOH into the water and stir gently until it is fully dissolved. Allow to cool to tepid or room temperature.

You now have your oil phase and your lye in separate containers. Carefully add the lye (sodium hydroxide and water solution) to the oils and stir.

Weigh out your poppy seeds and add to the soap batter.

Pour into your desired soap mould.

2. Weigh out your oils and butters. If you have any hard oils, melt them and add them to any liquid oils. Allow to cool to tepid or room temperature. At this point you can add your essential oils or fragrance oils and stir to disperse. If you find that some of your heated butters solidify when added to the cool liquid oils, you can give it a quick blend with the stick blender.
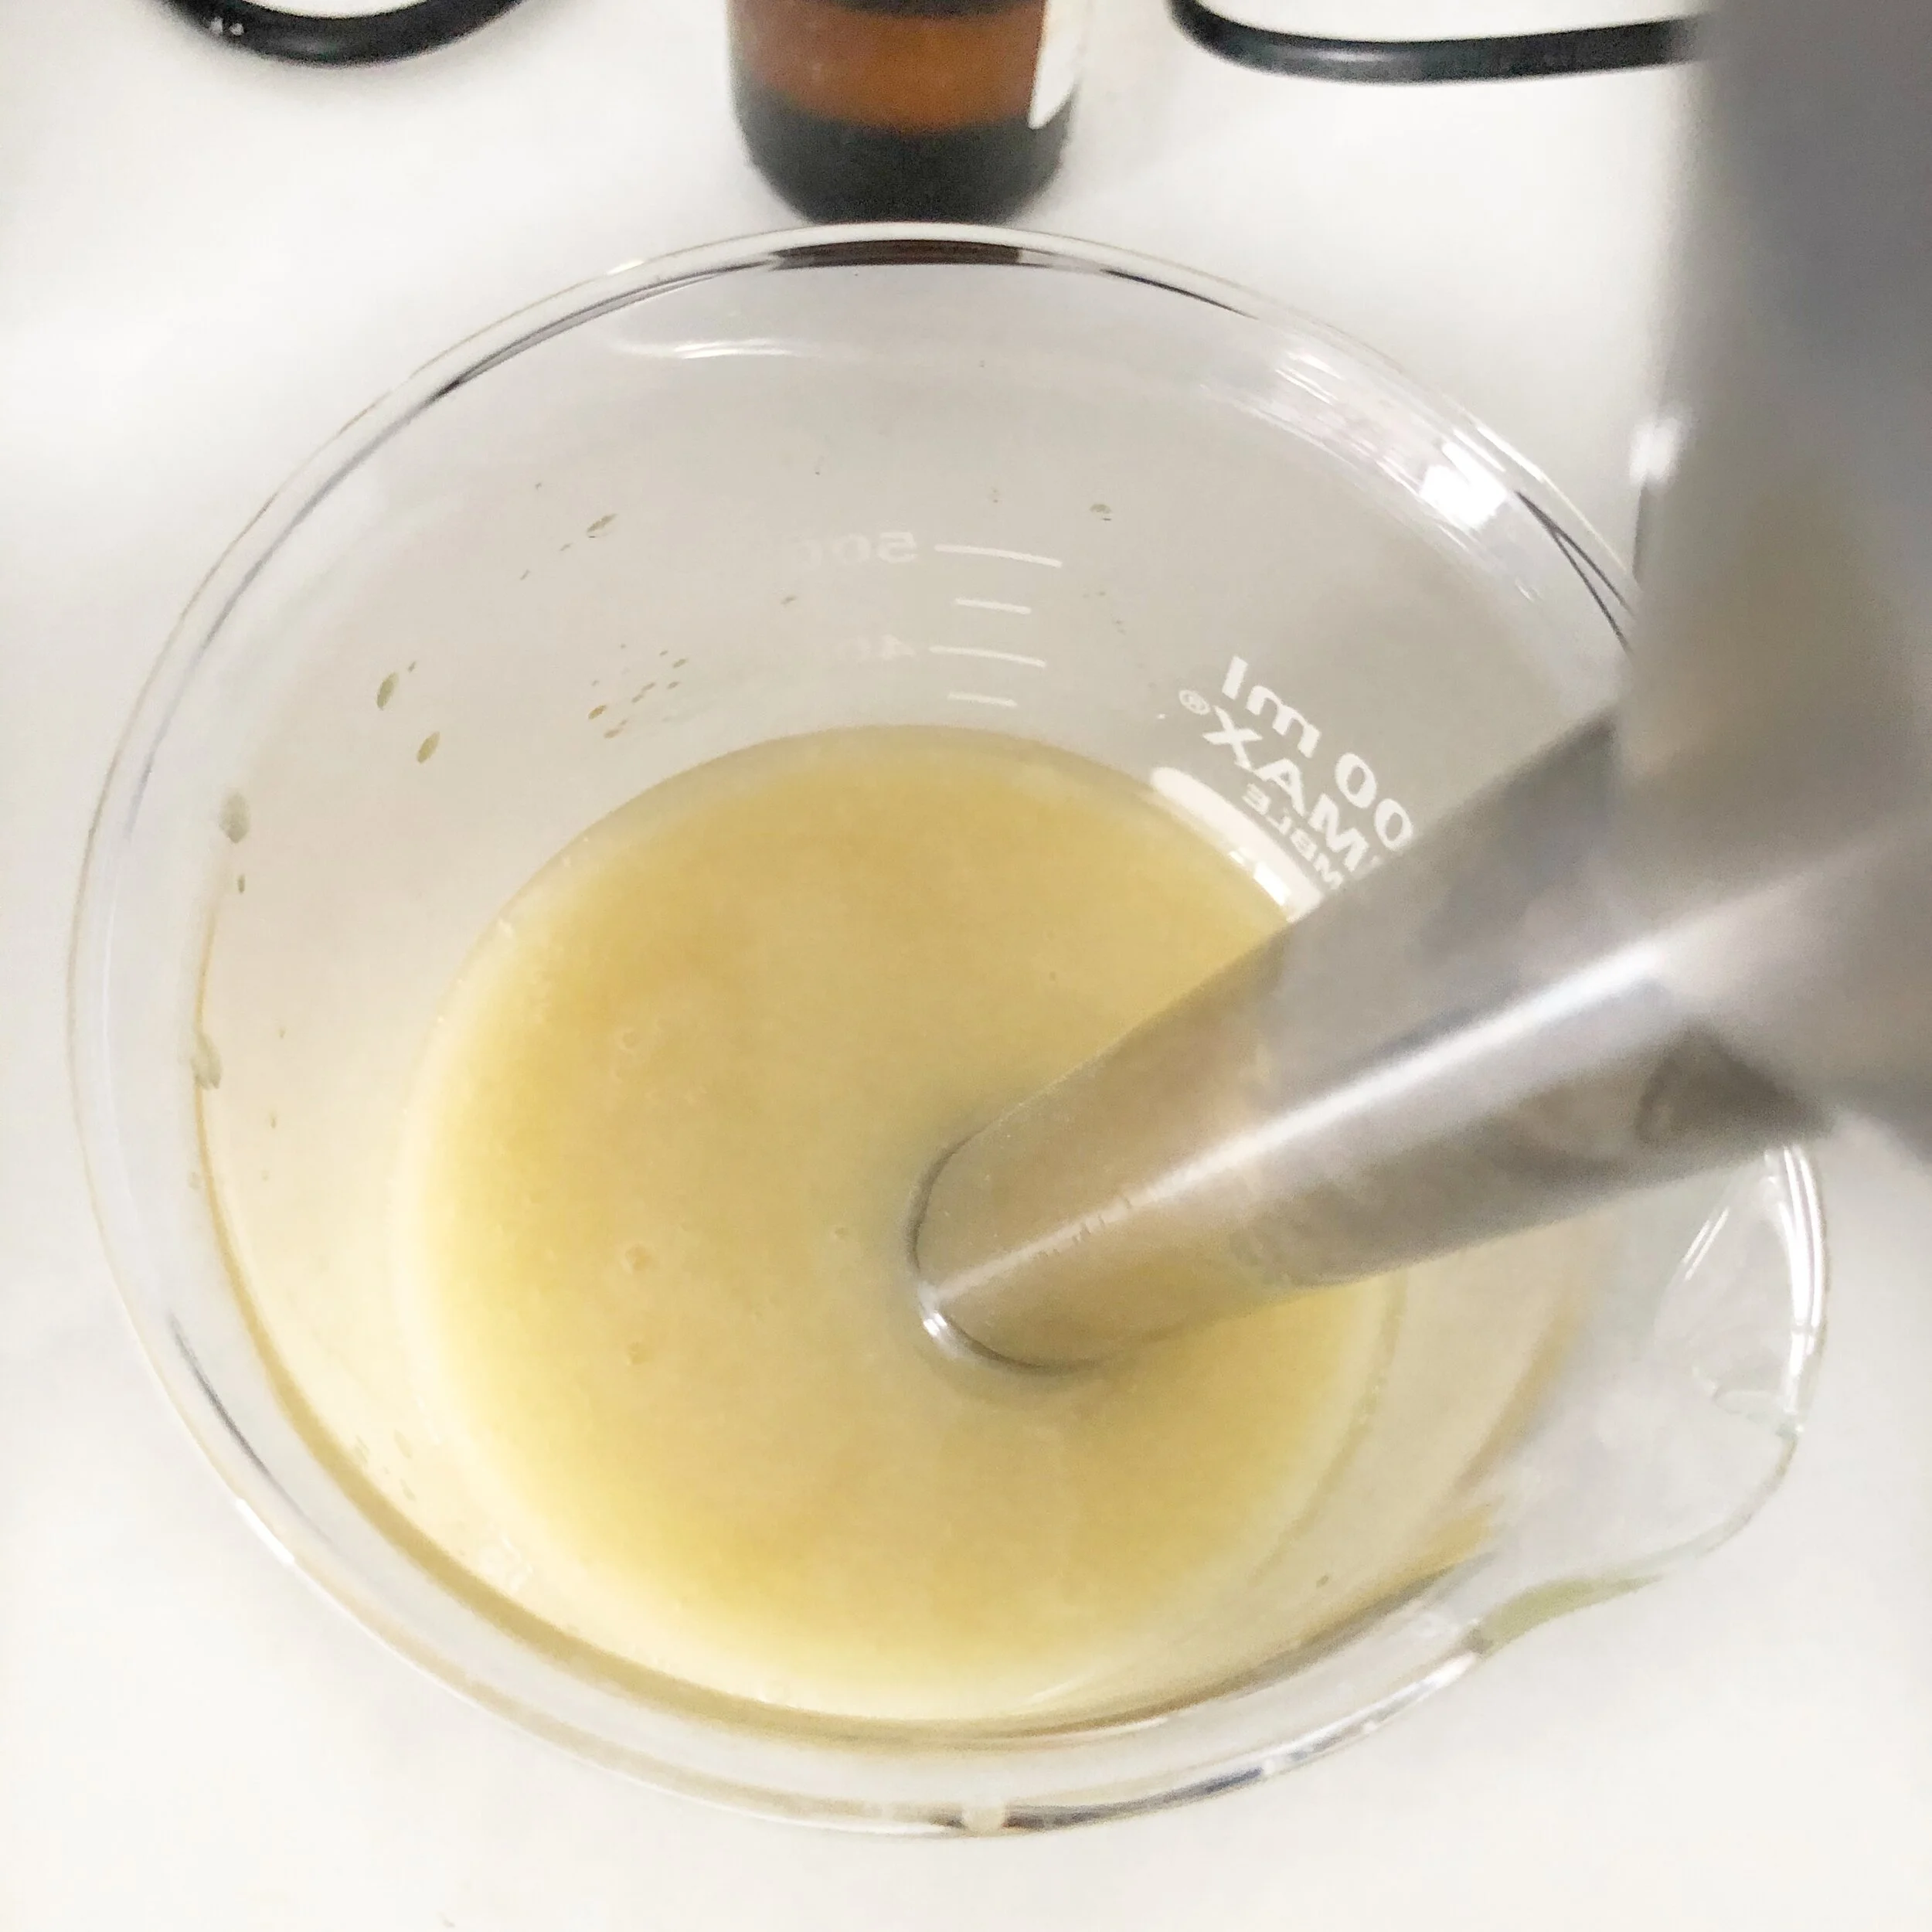
Use your immersion blender to blend until you have a thick trace. A thick mixture will allow the poppy seeds to be suspended in the soap.

Stir by hand until fully combined.

After 24-48 hours you can un-mould and leave them to cure for 4-6 weeks.
Congratulations! You have now made your first bar of soap.